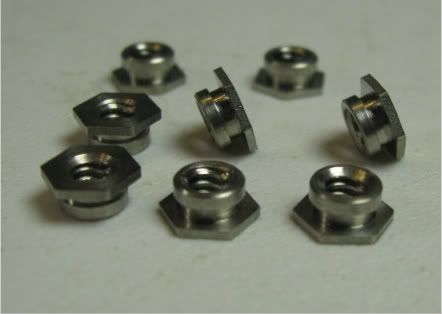
In order to minimize the amount of loose hardware, I have always used pressed nuts on Rob’s reproduction plastic cans.
The pressed nuts have been around for decades.
I buy them by the bag, but I think Rob is planning on offering them in the required quantity of six per can.
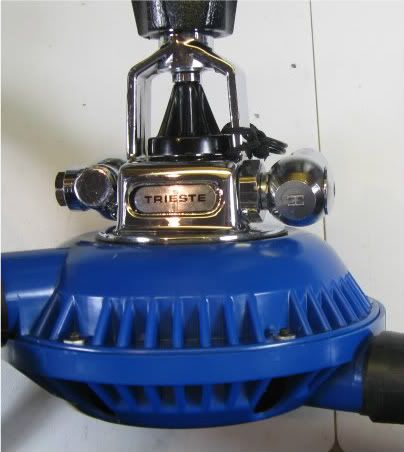
I find it very handy not having loose nuts. It makes opening and closing the can a lot easier. You don’t have to be holding the nuts and you can’t loose them. It is a lot easier to just keep track of six screws that are on the front of the can. You never have to turn regulator over to check that everything is lining up.
The pressed nuts are very easy to install.
I use a number 10 drill bit (0.196 inches) to open the existing holes from the back can. I drill them from behind, but do not drill them all the way though.
I only drill about half way down. The depth is not at all critical, but I don’t want to drill all the way through.
The plastic is soft enough that I have drilled several cans by just turning the drill bit by hand to cut the hole.
After opening the holes to the right size it is very easy to press the nuts.
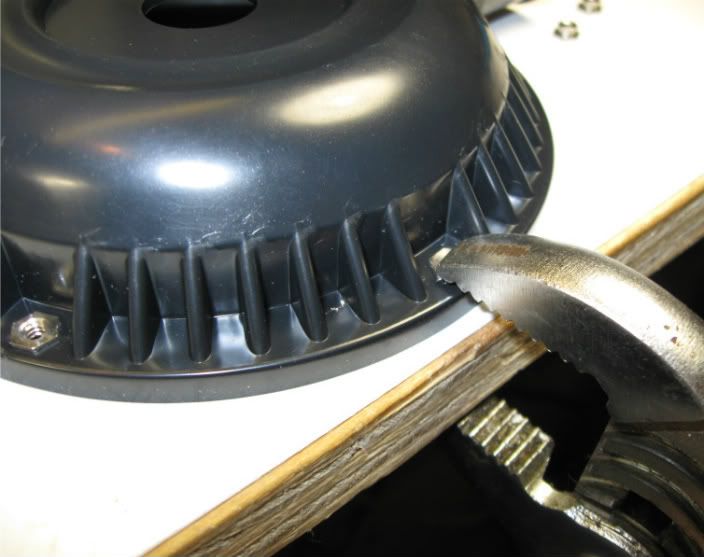
I use a “Channel lock: style of pliers on the edge of my work bench to press them in. Any piece of wood can be used to protect the face of the can.
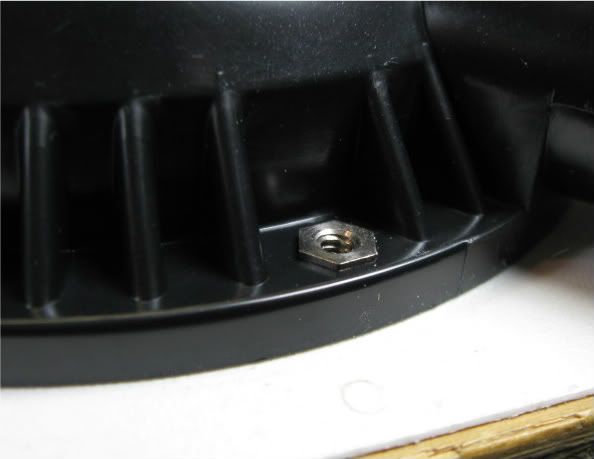
I press them just slightly and check for alignment. At this point it is easy to rotate the nuts slightly if the hexagon is not properly aligned. The nuts will work even if the hex is not aligned, but it looks better if they line up with the edge.
See the pictures below for details.


