Installing your new Duckbill Eliminator
Posted: Wed Oct 27, 2010 6:15 pm
I'm working with the production samples now and it looks like a green light for Nov 26th for world wide release.....It's about time!!!
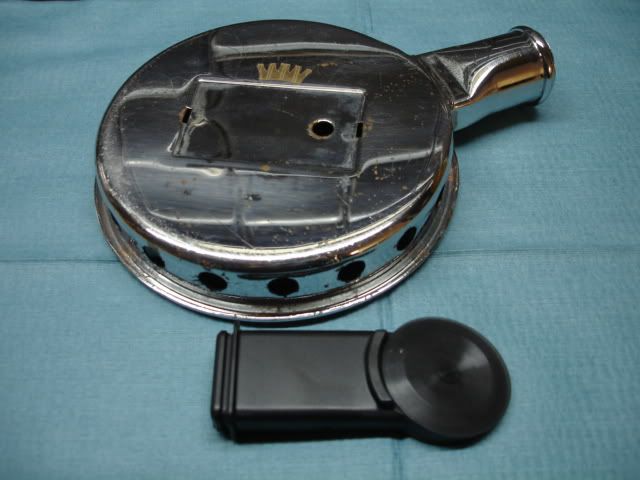
To attach it to the regulator I have used the following types of adhesive....DAP Marine Silicone in clear, Permatex 100% silicone adhesive in black, 3M Windshield silicone adhesive in black, Duocote silicone adhesive in clear and finally Master Bond 2 part epoxy. All the silicone stuff worked pretty much the same. No problems with any of it sticking and it cleaned up pretty easy when I removed it. The two part epoxy is more like a permanent decision. You can take it back out but you will break the DBE in the process.
I cleaned the surface of the can with soap and water then denatured alcohol. While it is air drying gather up your adhesive, lint free makeup remover pads, cotton swabs and some lint free towels if you are extra messy.
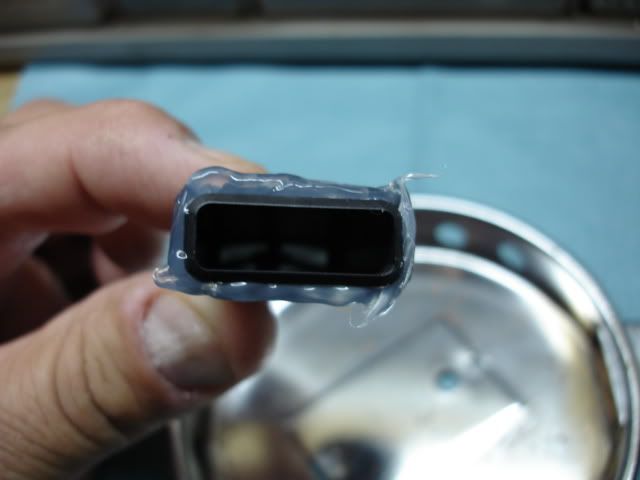
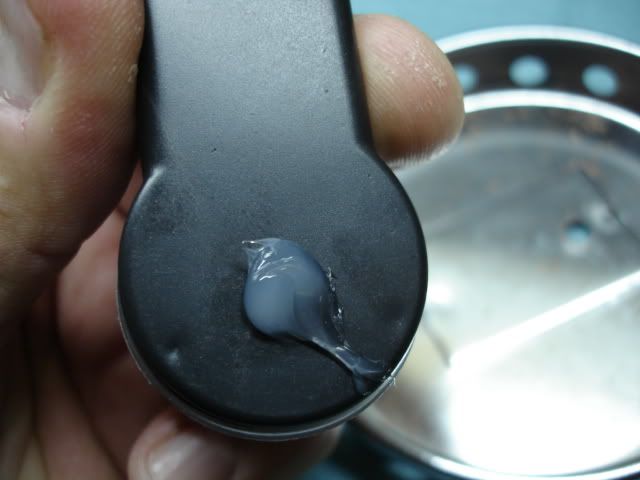
You only need to use a SMALL AMOUNT of adhesive. If you use too much you will play hell cleaning up all the excess that squeezes out. Put a small amount of adhesive in the groove all the way around the DBE. Then on the backside put a small round circle of adhesive just a little smaller than a dime.

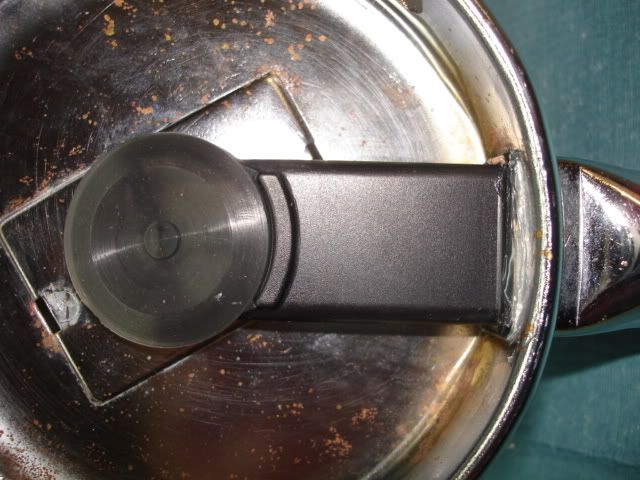
Then simply push it into place in the regulator horn. You can see the excess adhesive squeeze out around the edges so use some damp Q-tips and carefully remove as much excess as you like. Make only one pass per Q-tip. If you don't start with a new one each time the silicone will simply stick to the Q-tip and make a mess.

When you are done you will have something that looks like the picture below.
NOW THE MOST IMPORTANT PART. Set the whole thing aside and LEAVE IT ALONE Don't mess with it. Follow the cure time recommended by the manufacturer of the adhesive. It takes a long while for silicone adhesive to off gas and to completely dry. If you are in a hurry INSTALL IT ANOTHER TIME.

To attach it to the regulator I have used the following types of adhesive....DAP Marine Silicone in clear, Permatex 100% silicone adhesive in black, 3M Windshield silicone adhesive in black, Duocote silicone adhesive in clear and finally Master Bond 2 part epoxy. All the silicone stuff worked pretty much the same. No problems with any of it sticking and it cleaned up pretty easy when I removed it. The two part epoxy is more like a permanent decision. You can take it back out but you will break the DBE in the process.
I cleaned the surface of the can with soap and water then denatured alcohol. While it is air drying gather up your adhesive, lint free makeup remover pads, cotton swabs and some lint free towels if you are extra messy.
You only need to use a SMALL AMOUNT of adhesive. If you use too much you will play hell cleaning up all the excess that squeezes out. Put a small amount of adhesive in the groove all the way around the DBE. Then on the backside put a small round circle of adhesive just a little smaller than a dime.
Then simply push it into place in the regulator horn. You can see the excess adhesive squeeze out around the edges so use some damp Q-tips and carefully remove as much excess as you like. Make only one pass per Q-tip. If you don't start with a new one each time the silicone will simply stick to the Q-tip and make a mess.
When you are done you will have something that looks like the picture below.
NOW THE MOST IMPORTANT PART. Set the whole thing aside and LEAVE IT ALONE